BurgerTime Cabinet Repair
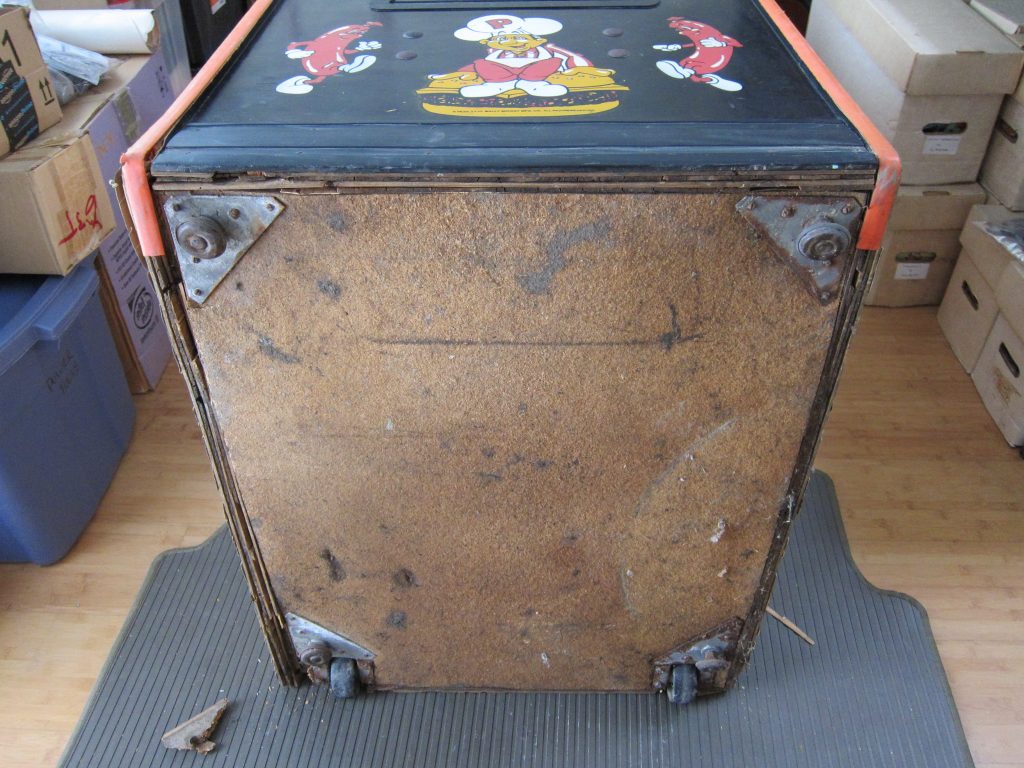
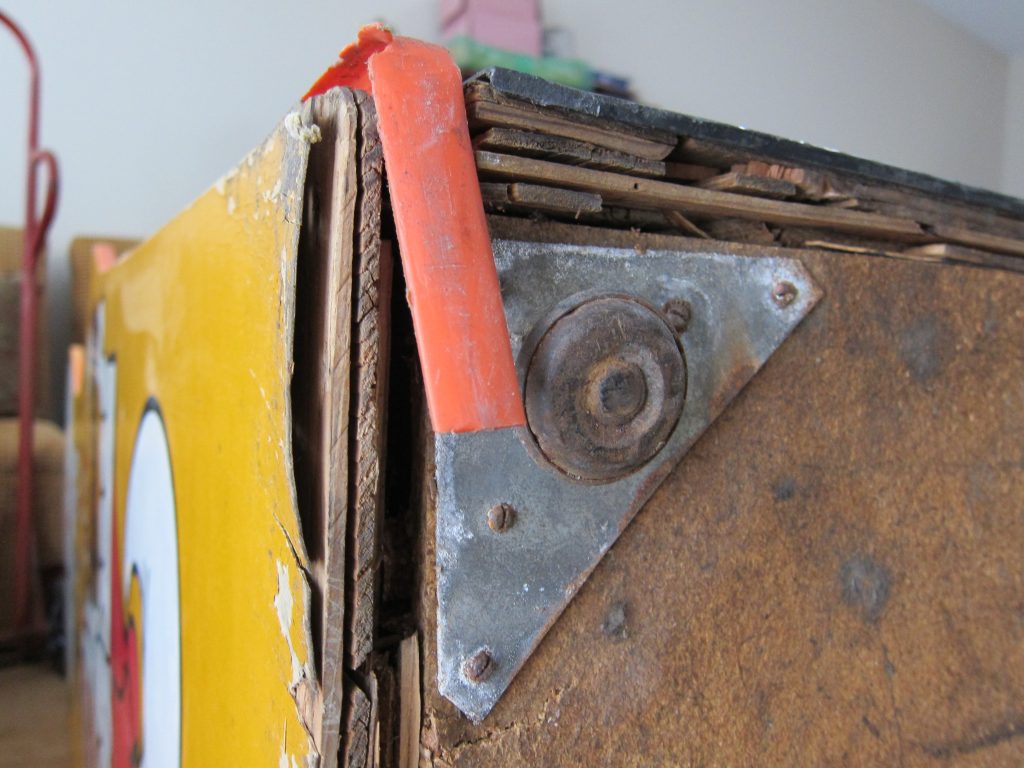
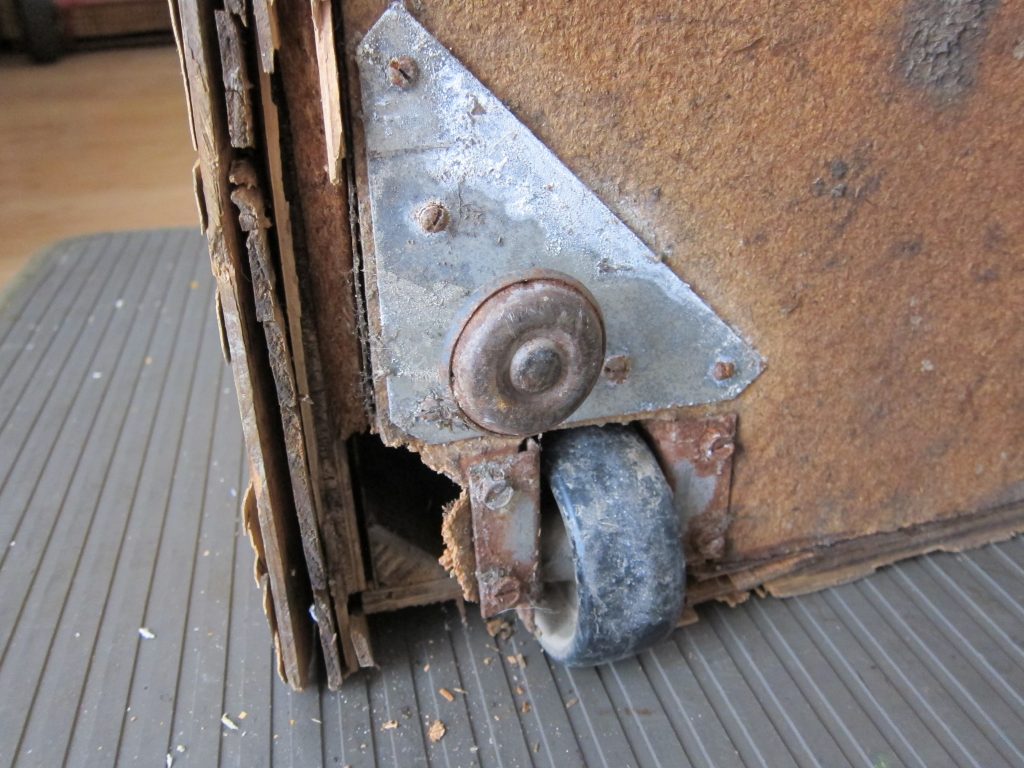
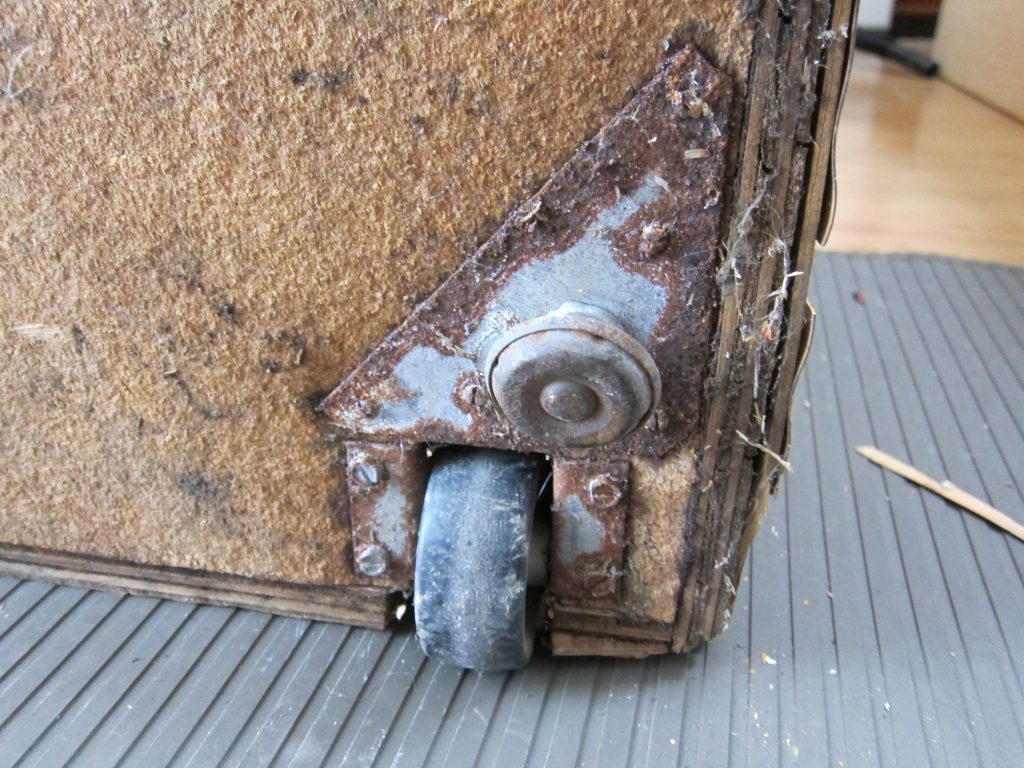
Well, it’s been over 3 years since I picked up my BurgerTime system and I am finally getting around to working on it. When I initially got it, I was excited to restore it and launched into a heavy cleaning of the unit. Aside from the need for a general cleanup, the biggest issue I was aware of was the water damage the cabinet had endured at its base. The bottom particle board was shot and crumbling and the game didn’t really stand upright.
The biggest problem I had in tackling the cabinet repair was the lack of a suitable place to undertake it. I was working out of my office, which really wasn’t a great place to do wood working. I really needed a garage space to tackle these types of projects, so I let the unit stay as is until I had a better space to do this kind of work.
In March of 2018, we finally moved into a new primary residence that has a 2 car garage, so I moved the BurgerTime there to begin my full restoration project. Of course, along with the game system came a ton of other crap from our move that filled the second bay of our garage and really made it difficult for me to do projects of this magnitude. So, once again, the unit sat for the better part of a year.
Finally, in February of 2019, almost a year after we made our move, we cleared enough of the garage for me to begin to work on the game. First thing to do was repair the bottom of the cabinet by removing the water damaged particle board base and replace it with something a tad more water resistant as well as install leg levelers to get the game an inch or two off of the ground.
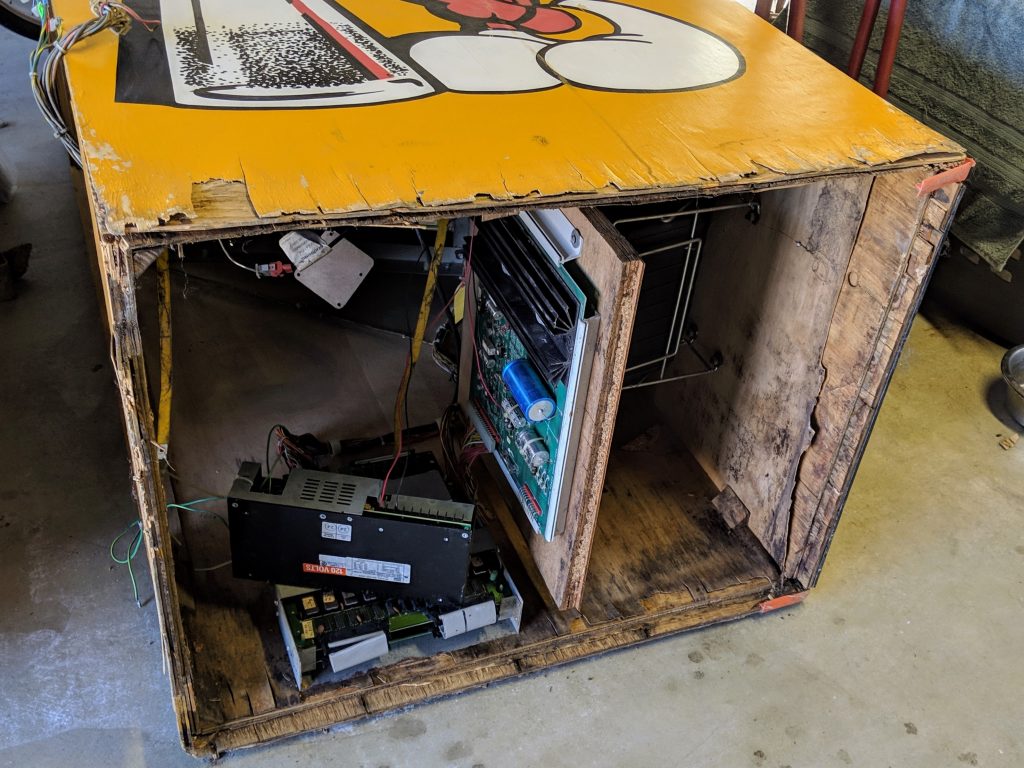
I ordered a set of 4 leg levelers on eBay for $18 which arrived in a few days and once I had those in hand began the project. The first thing I would need to do was to remove anything on the interior that was attached to the base. Upon inspection, that would appear to only be the original power supply, which was screwed to the bottom of the cabinet and the switching power supply that was added to the system to power the game board and which appeared to be just laying on the bottom of the cabinet.
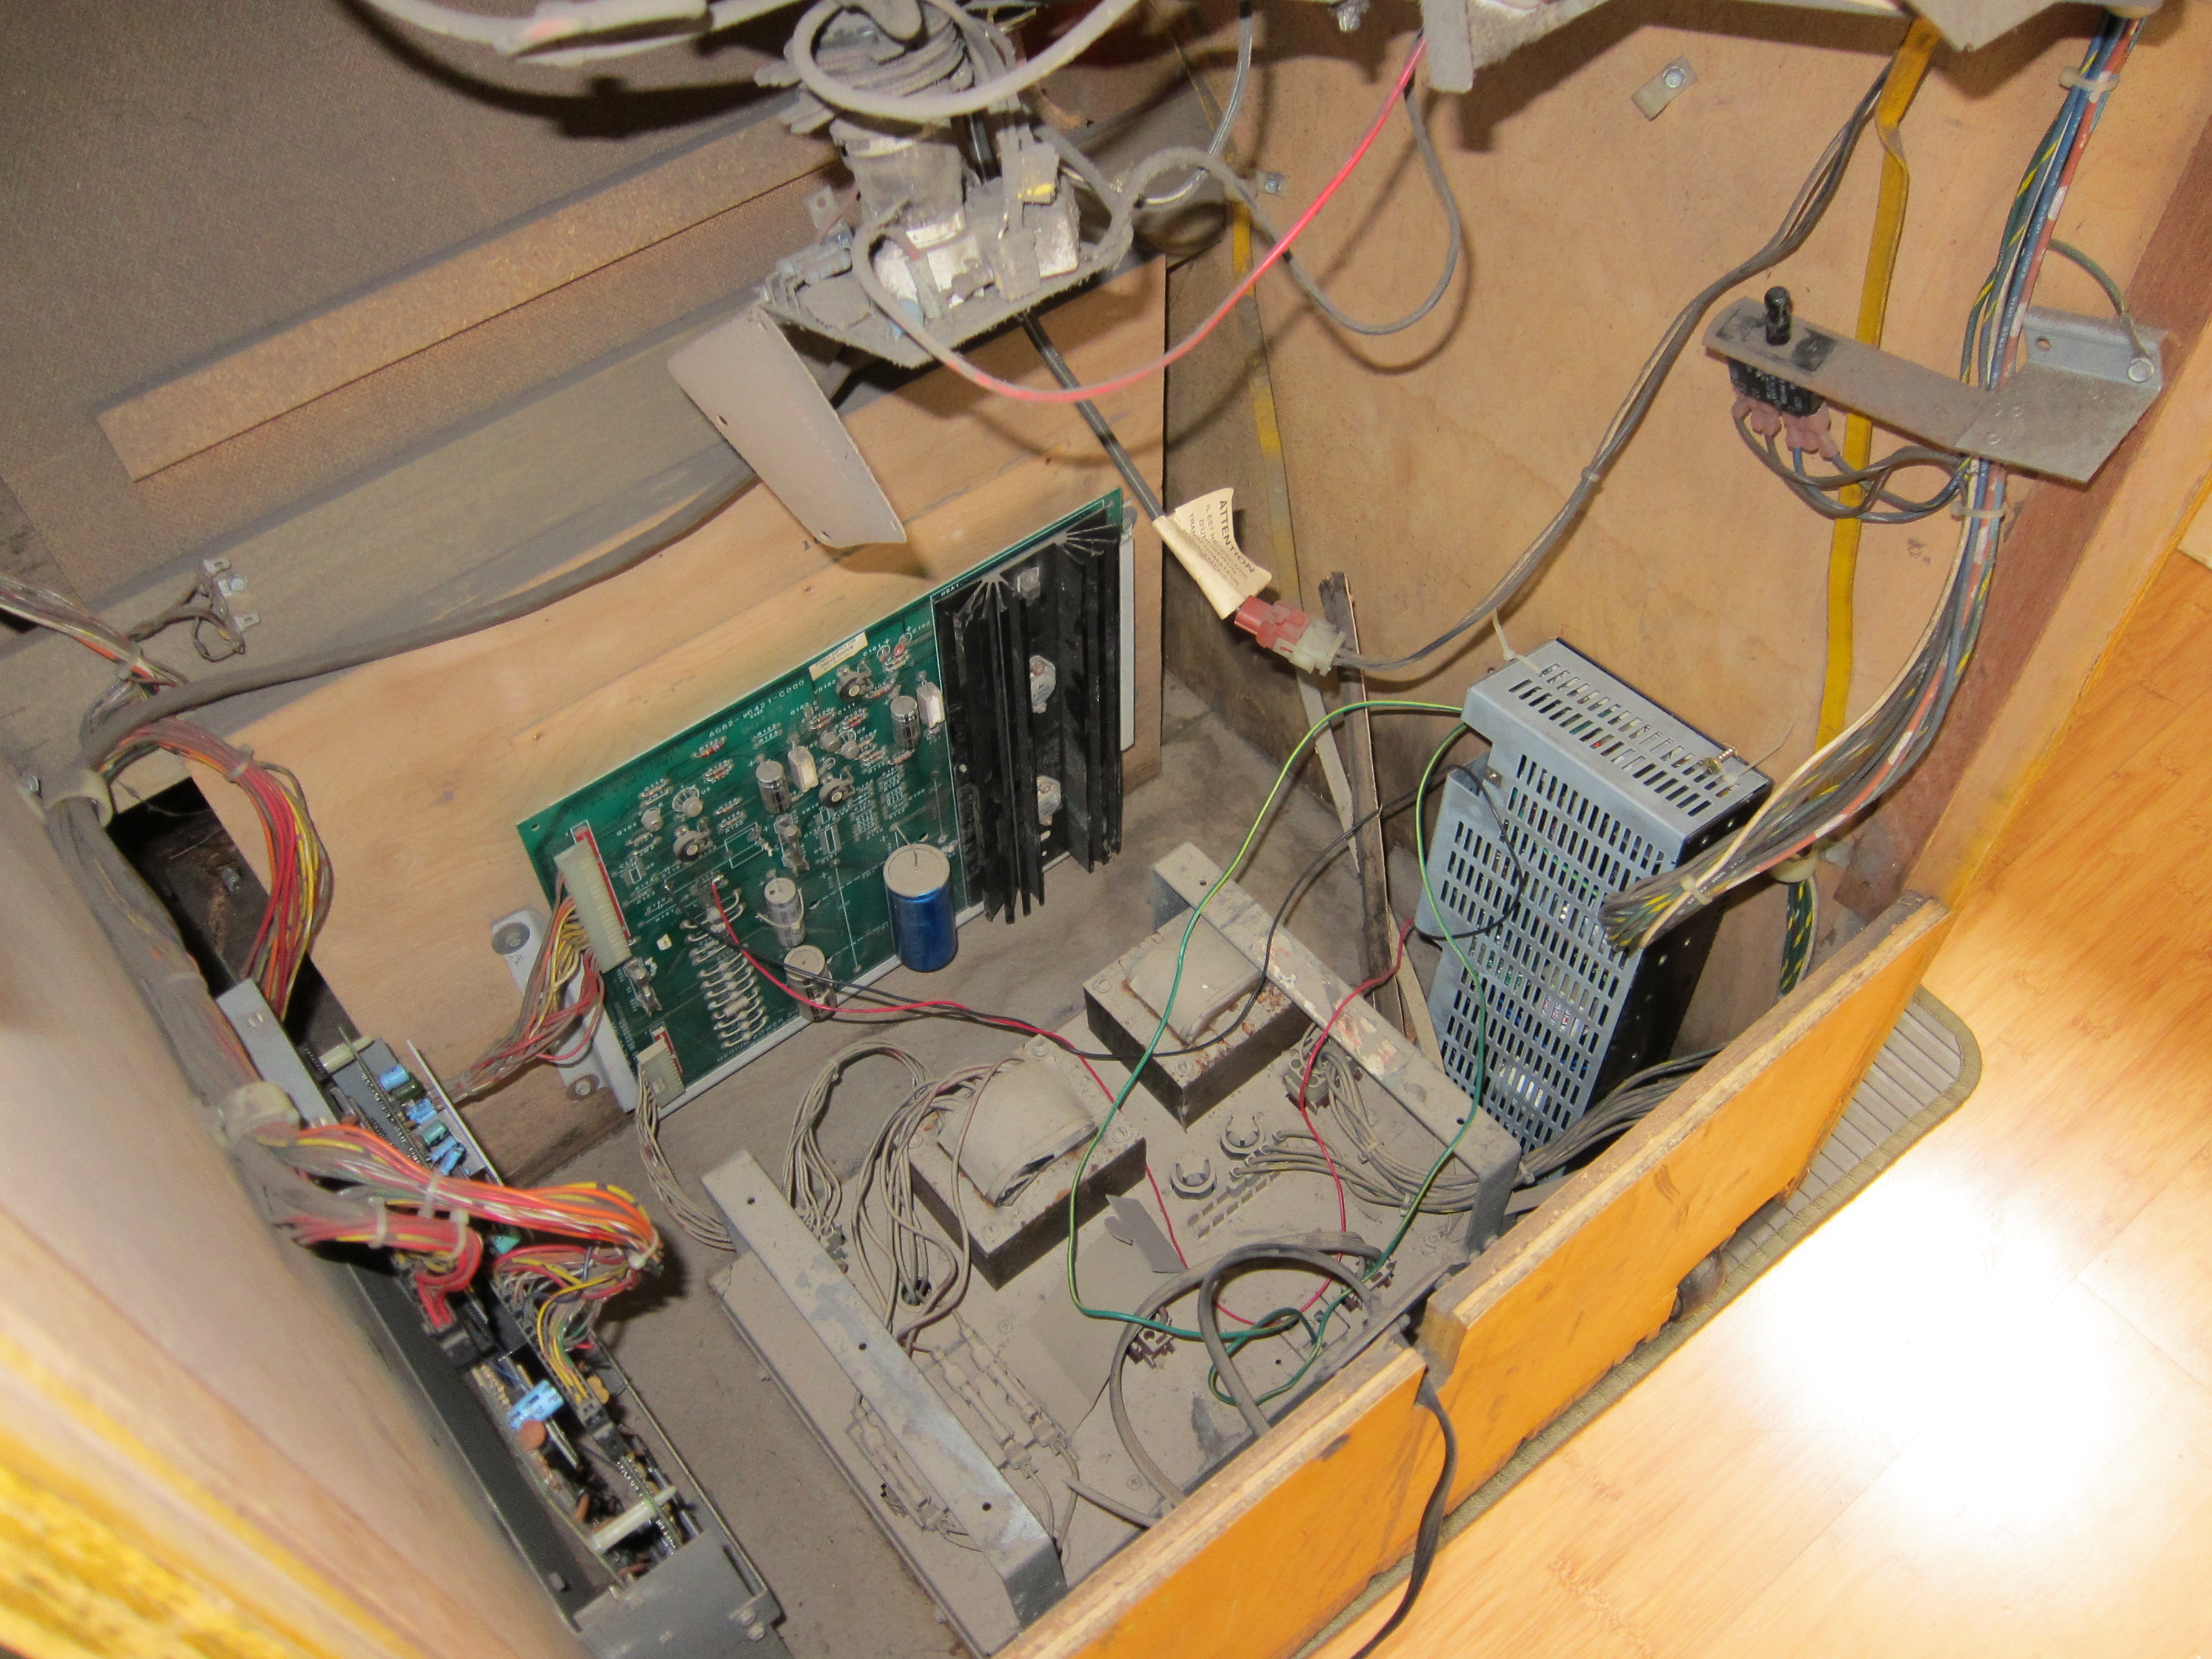
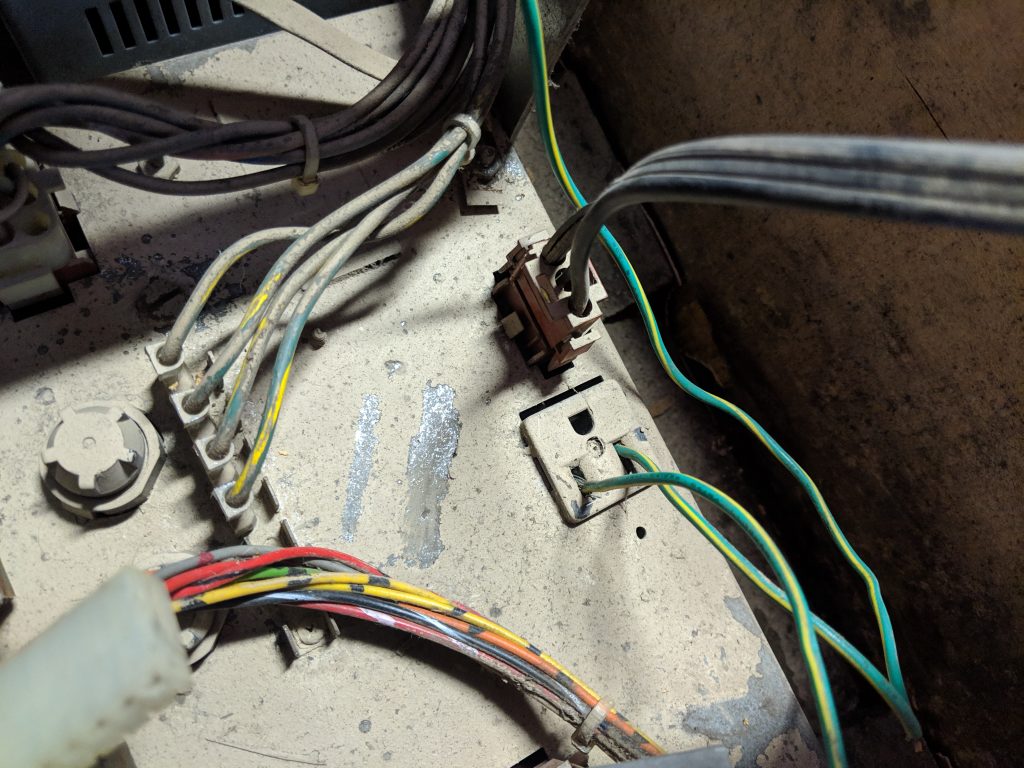
To remove the power supplies, I first documented all of the connections that were in place. The installation of the switching power supply was a real hack job with the AC power wires simply inserted into the original power supply’s auxilary AC plug. I’ll clean that up before I reinstall everything.
Hack-job switching PS 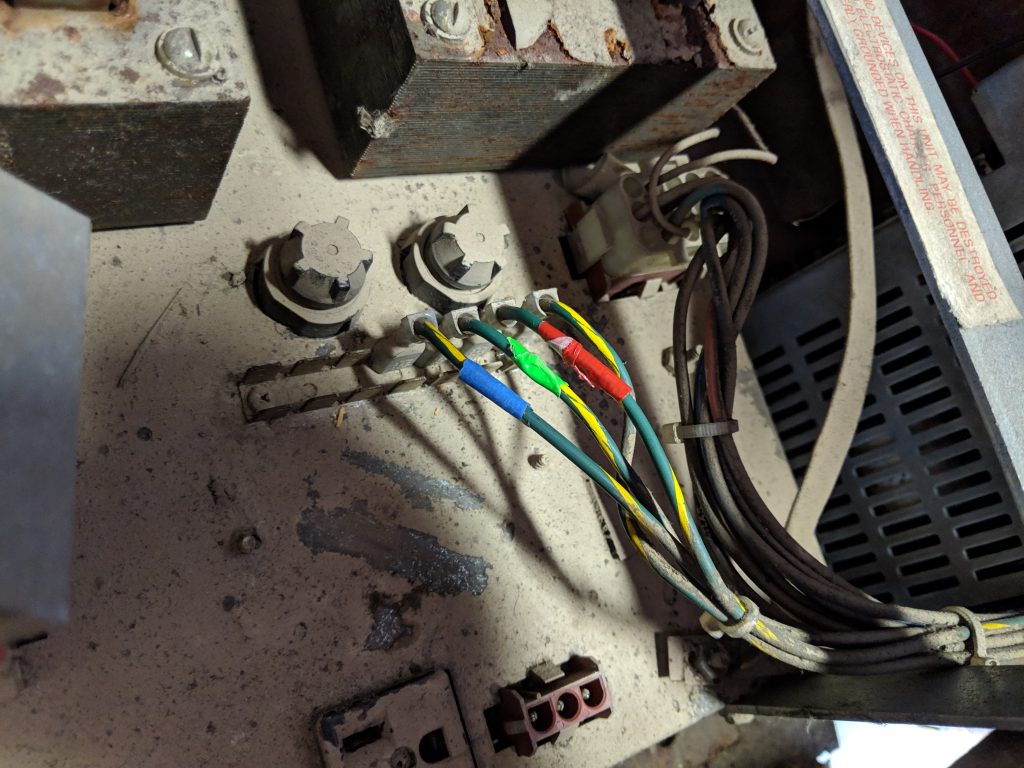
Colored tape to reconnect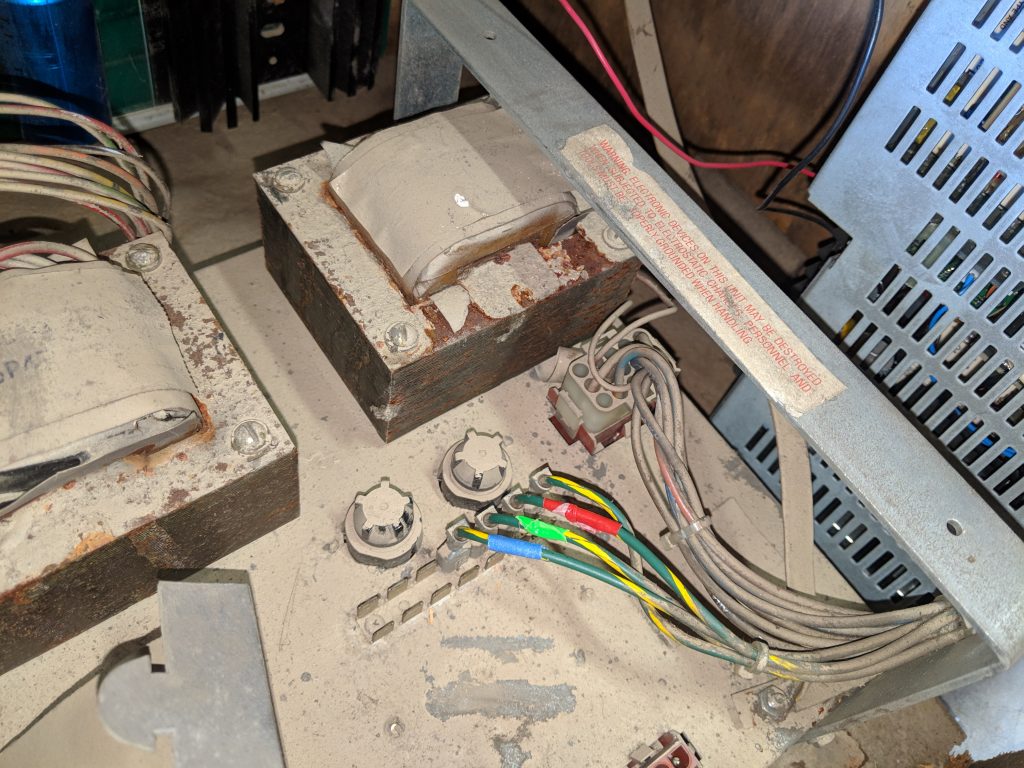
Original PS was filthy
Most of the connections were molex connectors making re-assembly pretty easy. The one exception were four independent wires that were connected to tabs in the center of the original power supply. I had to mark the wires with different colored tape to remember how to put them back the same way.
Once the connections were documented, I disconnected everything. The original power supply was attached to the base of the cabinet by 6 rusted out hex headed screws. It took a little work to get them out since the particle board they were affixed to was compromised so they would just spin in place when unscrewed. I finally just had to pull up on the power supply to pull the screws out. I left the switching power supply in place since the +5V and ground leads were soldered to the original power supply circuit board. After placing a soft mat down to protect the side art, I laid the cabinet on it’s side and slowly worked the particle board base off the main cabinet walls. It was surprisingly easy to dislodge.
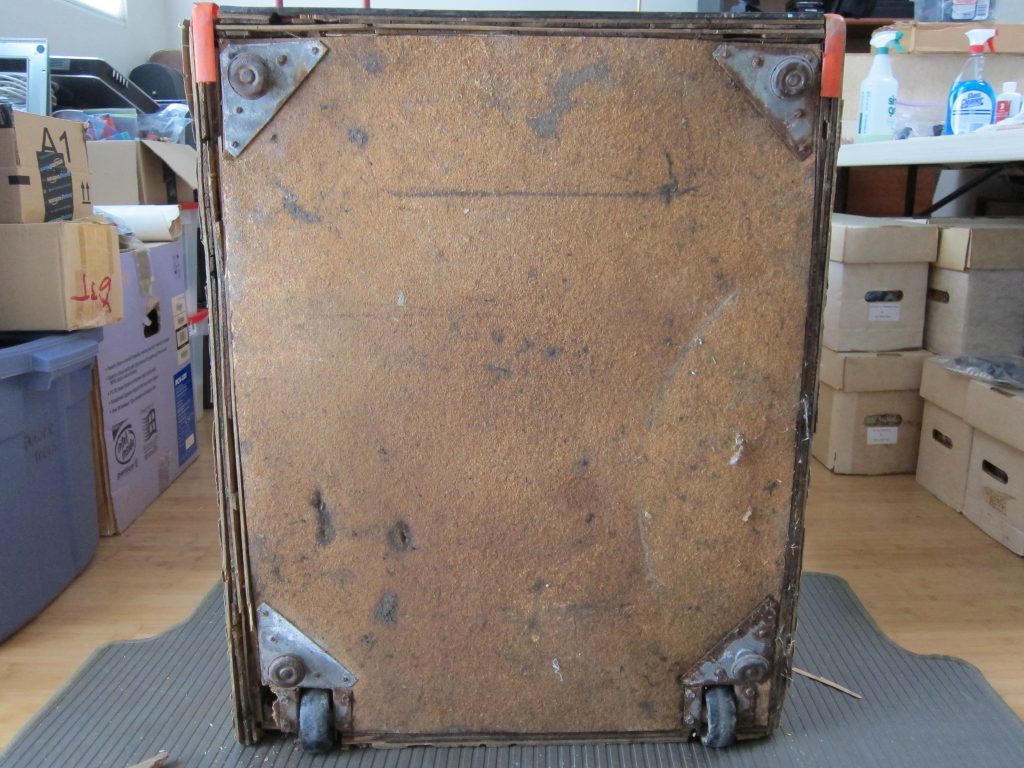
Bottom removed 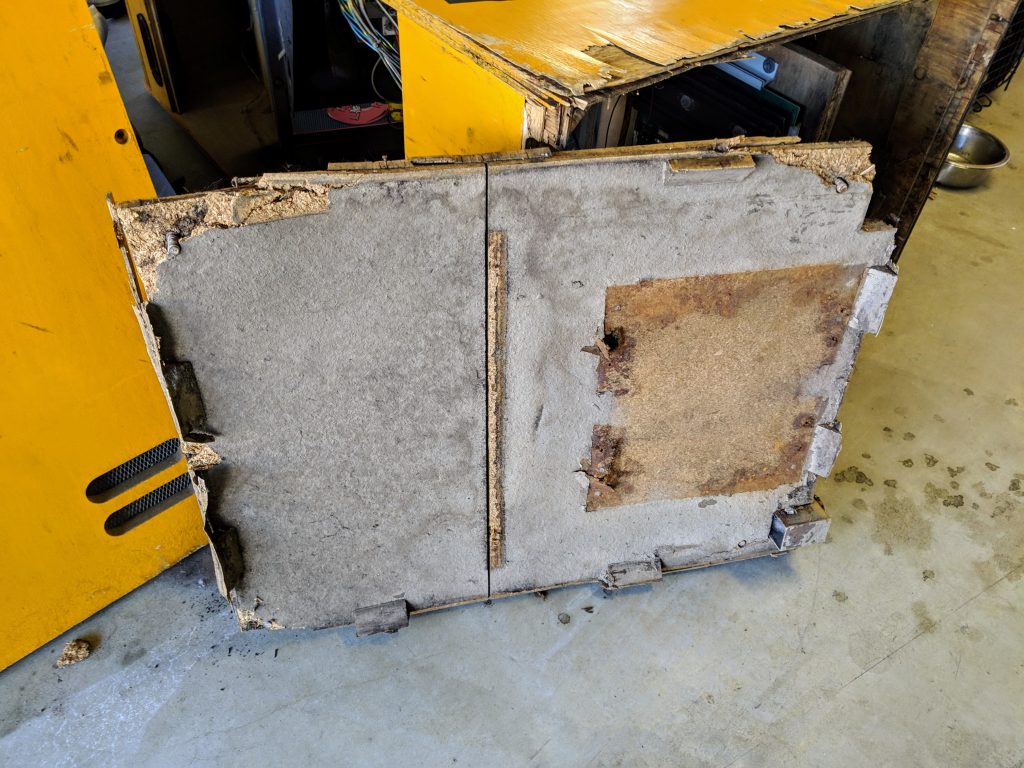
Water logged particle board bottom
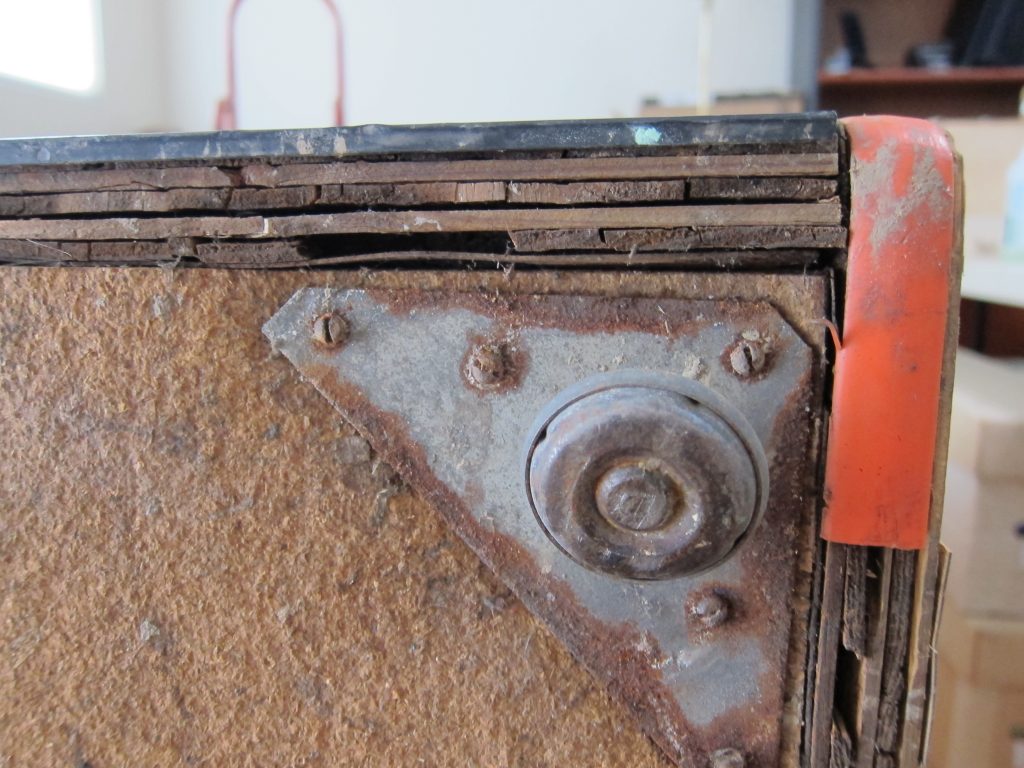
Once the bottom was off, I assessed the side panels at the bottom. They were fairly compromised but there was enough material to properly secure a new bottom piece of wood so I measured both the old bottom as well as the space between the sides and front and back of the cabinet to determine that I would need a bottom piece that was 24 inches wide and 30.5 inches deep. The beveling of the sidewalls and front and back panels look to give me clearance for a thickness of 3/4″ to maybe even 1″ and I definitely wanted to put a solid base in place.
With measurements in hand, I went to Dixieline to get the wood to replace the bottom panel of the cabinet. My adventure at Dixieline was a bit of a boondoggle in that I told one of the guys in the lumber yard what I was trying to do and he felt that a 1/2″ thick piece of plywood should be all that I would need. The $18 price was right for a 4′ x 8′ piece that I could cut down and have scrap left over for other projects. Unfortunately, when the final piece was cut down (for an extra $4!), I ultimately felt that the resultant 24″ x 30.5″ board was a little too flimsy and I wanted the base to be as solid as I could make it. I ended up purchasing a pre-cut 24″ x 48″ x 3/4″ board they actually sold within the retail part of the store (as opposed to out in the lumber area) for an additional $20. The hiccup there was that the board was marked as 24″ x 48″, but in actuality was 23.5″ x 47.5″, so when I cut it down to the correct 30.5″ length I needed, the width was a half inch shy! I ended up picking up a box of shims to make up the 1/2″ gap to get a good join of the cabinet side panels to the new base I would install.
To get a good, solid join at the base between the cabinet side panels and the bottom panel, I decided to use some kind of metal edge that would allow me to secure both the bottom and the side panels to a more ridged material. I went to Home Depot and found some 36″ x 1″ x 1″ aluminum angles for about $6 each (I needed 3) that would do the trick. The finished product had the additional benefit of tamping down the peeling side art at the bottom of the cabinet.
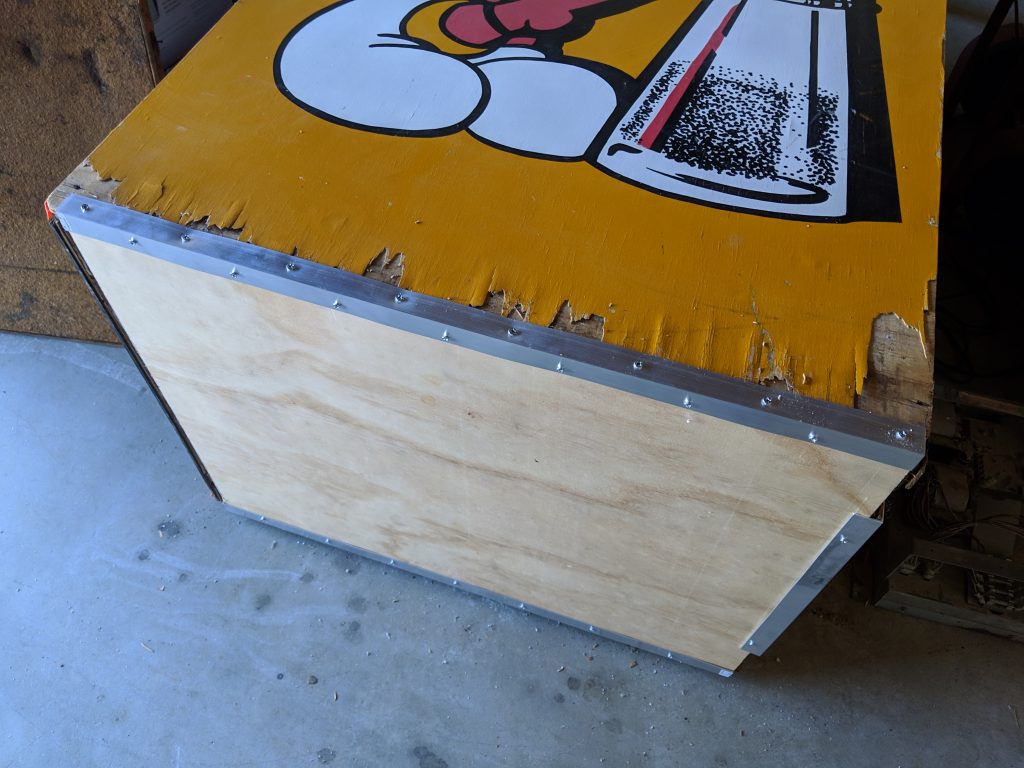
Aluminum angles 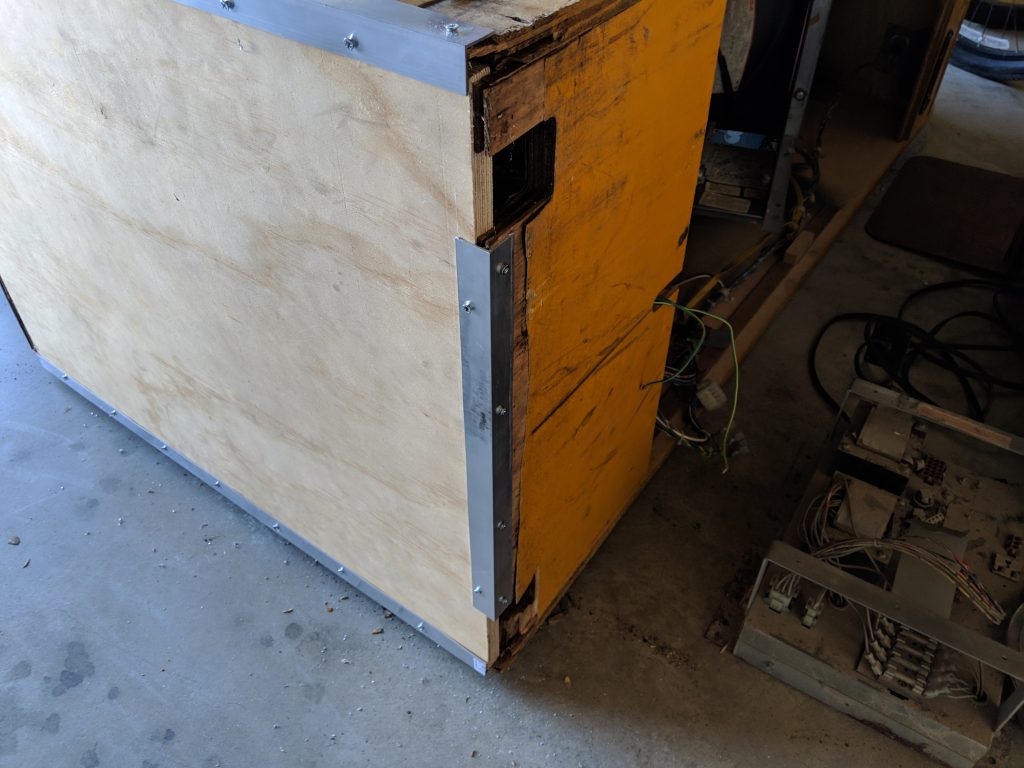
Work around wheel holes 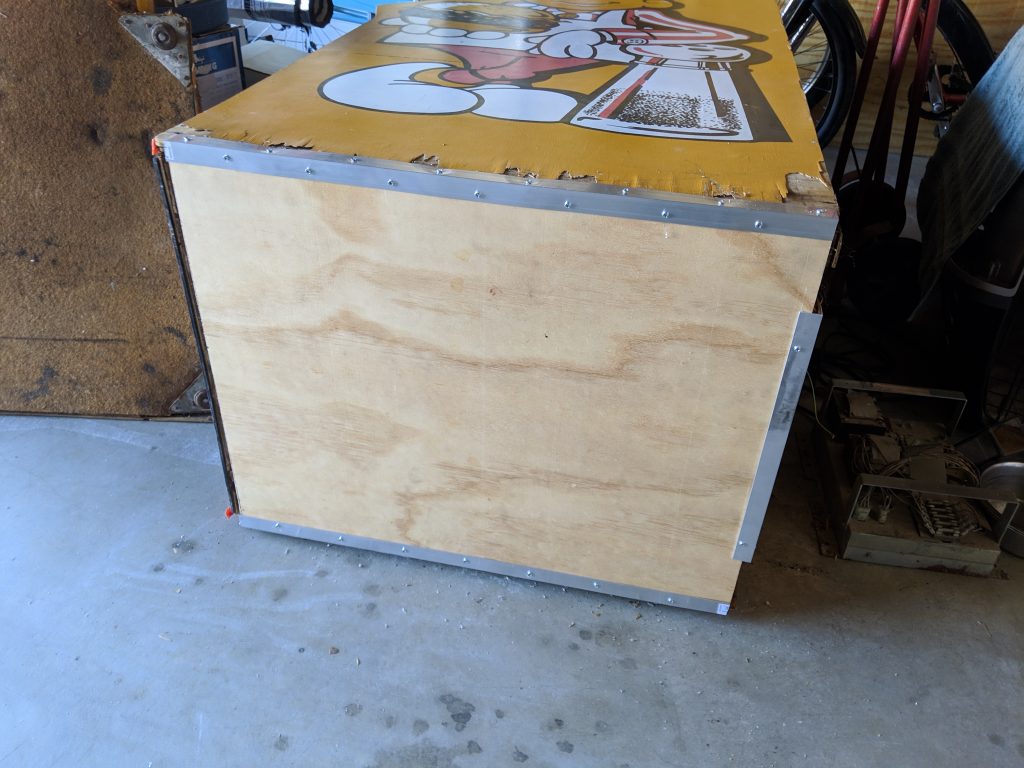
Finished work
Now it was time to install the leg levelers. I definitely wanted to get the unit up off the floor to mitigate any additional water damage that might occur if exposed to water on the ground. You might think this is a bit over-pre-cautious, but I have already experienced a flooded garage game room at our vacation rental in Santa Barbara, and leg levelers are a good idea on any arcade cabinet just for their ability to stabilize the cabinet on uneven flooring.
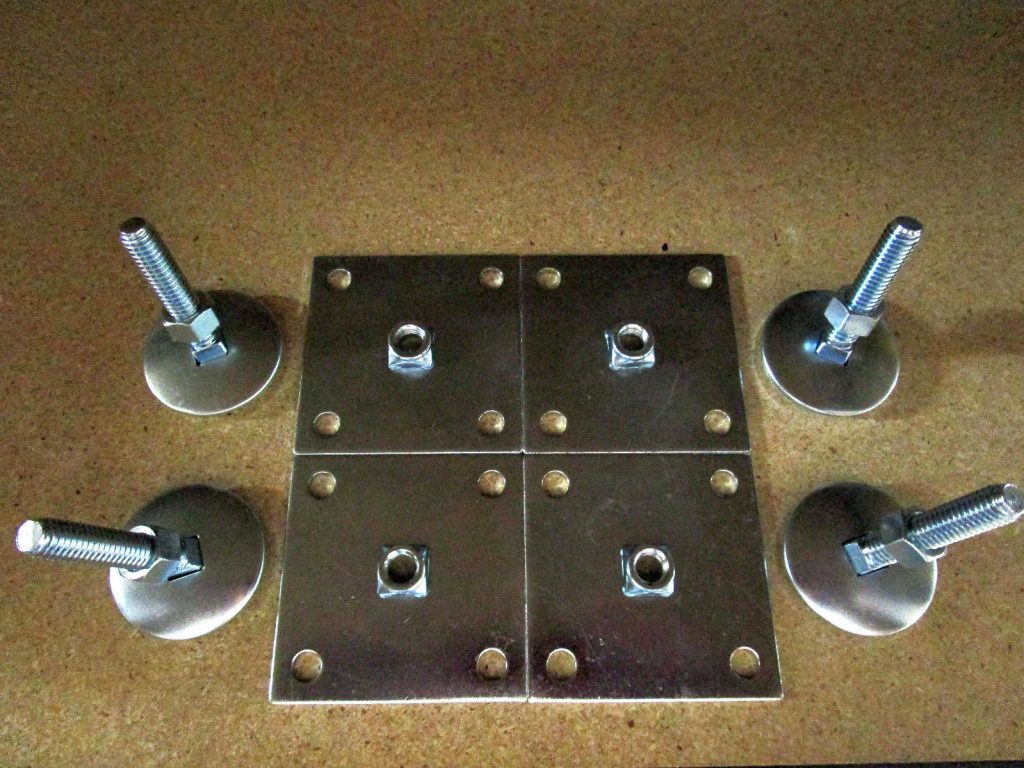
$18 leg levelers from eBay 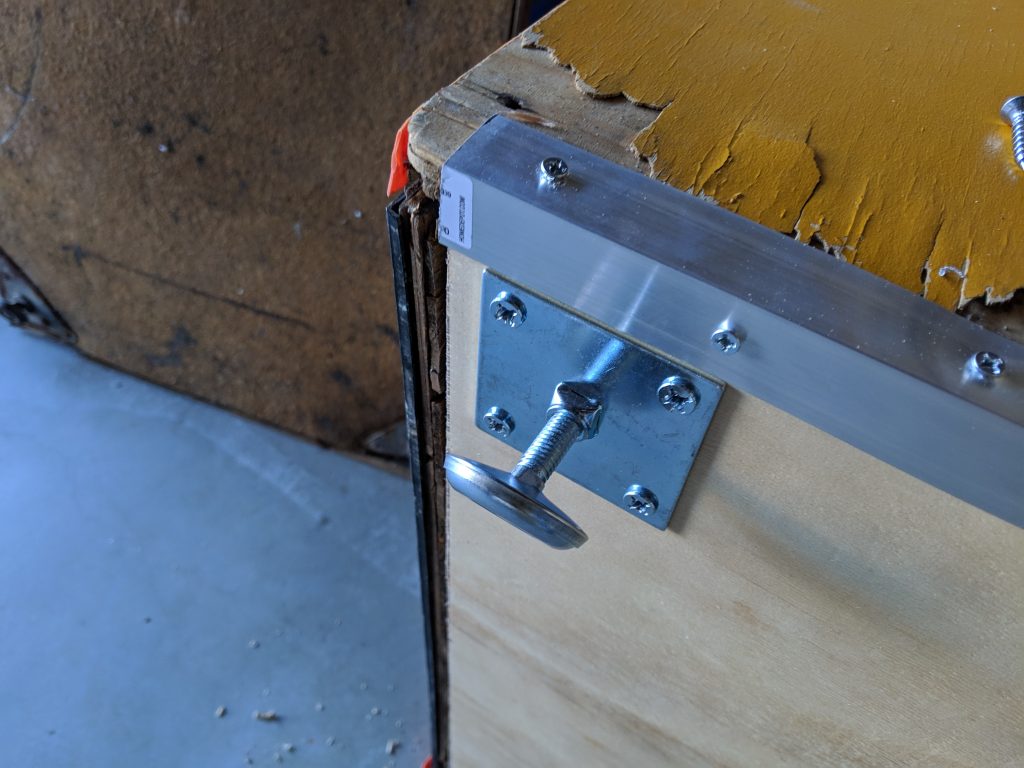
Leg leveler installed 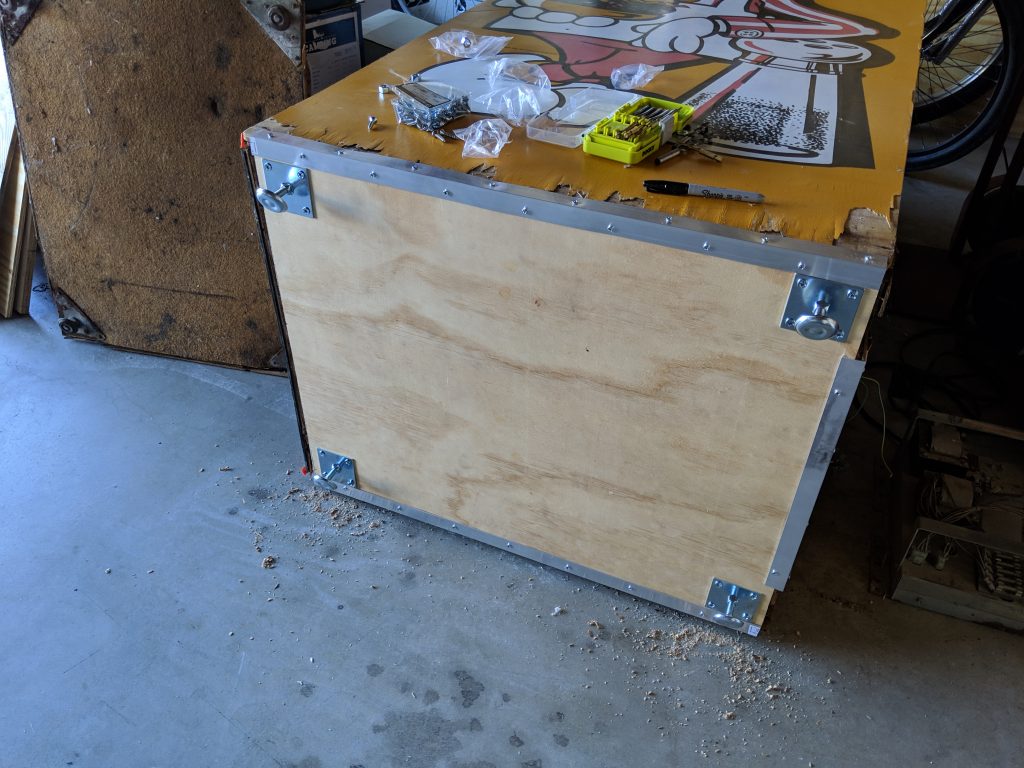
Rebuild complete